

Why most undersized fans were sized on CFM alone
The single most common fan selection error in commercial HVAC is choosing a fan by airflow and treating pressure as an afterthought. The fan is rated at 500 CFM, the job needs 500 CFM, the fan gets ordered. On site it delivers 300.
Nothing was wrong with the rating. A fan’s airflow rating is only meaningful at a stated static pressure, and a catalogue headline figure is usually stated at or near zero pressure — a condition that does not exist in any real duct system.
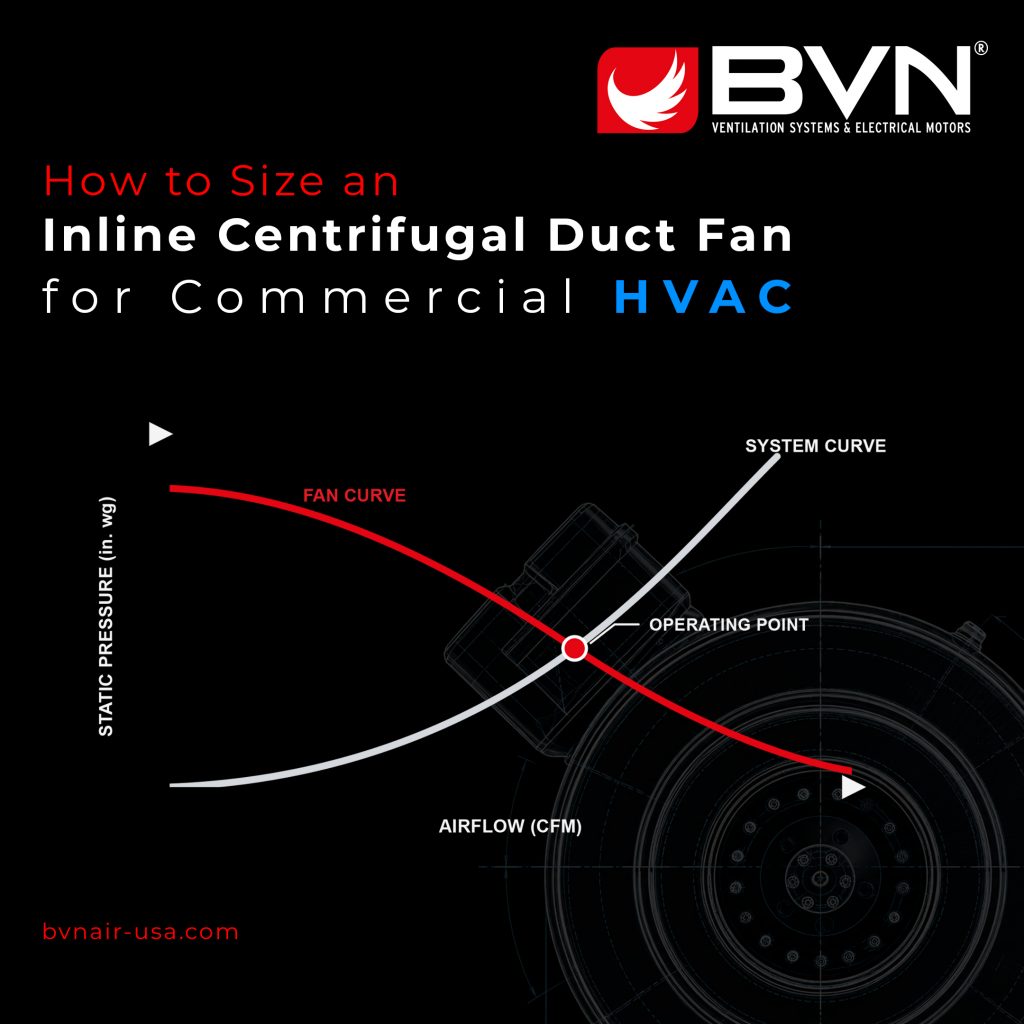
Sizing correctly means finding the point where the fan’s capability and the system’s resistance meet.
Step 1: Establish required airflow
Airflow comes from the application, not from the fan catalogue. Depending on the job it may be driven by an air change rate, by a fixture count, by a heat load, or by a code-required ventilation rate for the occupancy.
For a volume-based calculation, multiply the room volume in cubic feet by the required air changes per hour, then divide by 60 to get CFM.
Whatever method you use, write down the number and its basis before you look at any product data. It is much harder to be talked out of a correct airflow than to be talked into a convenient one.
Step 2: Calculate total system static pressure
This is the step that gets skipped, and it is the step that determines whether the installation works.
Add up every source of resistance the fan has to overcome. Straight duct friction, calculated from the duct size, material, length and design velocity. Fittings — elbows, transitions, tees, boots — each converted to an equivalent length or a loss coefficient. Filters, at their dirty pressure drop, not clean. Dampers, including backdraft dampers. Grilles, registers and diffusers. The exterior termination, including any louvre, hood or roof cap and its screen.
Sum these to get total external static pressure, in inches of water gauge. Then add a design allowance for the difference between the drawing and the building — typically 10 to 20 percent. Duct rarely gets installed exactly as drawn.
What to do when you do not know the duct route yet
The method above assumes a duct layout. At specification stage you often do not have one, and this is where most selections go wrong — not through bad arithmetic but through a placeholder number nobody revisits.
Do not select at zero or near-zero static pressure. That is a laboratory condition and it does not exist in a building.
Instead make an explicit written assumption and select against it. State the duct diameter, an assumed run length, an assumed number of elbows and an assumed termination type, calculate the resulting pressure, and record that as the selection basis on the schedule.
Two useful things follow from writing it down. The contractor who later routes eighty feet through six elbows can see the fan was selected for forty and four, and can raise it before it is built. And when the system underperforms, the conversation starts from a documented assumption rather than from blame.
A selection basis that turns out wrong but was written down is a manageable problem. An unstated assumption is not.
Why free-air ratings mislead
Inline duct fans are commonly marketed, and almost always listed by online retailers, at their free-air airflow: the figure at zero static pressure, at the right-hand end of the curve.
The gap between that number and installed performance is not a rounding error. Depending on how steeply the fan curve falls, a fan advertised at its free-air rating can deliver a small fraction of it once a real duct system is attached.
This is why two fans with the same headline CFM can behave completely differently, and why comparing products on that number tells you nothing at all. Compare at a stated pressure, or do not compare.
If a supplier quotes a single CFM figure without a pressure, ask for the curve. If there is no curve, there is no selection — only a hope.
Step 3: Define the operating point
Your required airflow and your calculated static pressure together define one point: the duty point. Written as a pair, for example 450 CFM at 0.6 in. wg, it is the only piece of information a fan supplier actually needs to make a correct recommendation.
If you send a supplier only a CFM figure, you are asking them to guess at the pressure. They will guess low, because low pressure makes their fan look better.
Step 4: Select from the fan curve
Plot your duty point on the candidate fan’s performance curve. The fan is suitable if the curve passes through or above that point.
Then look at where on the curve it sits. The useful selection region is the middle portion, to the right of the peak pressure and left of the steep drop-off. A fan selected far up the left of its curve can be unstable and noisy. A fan selected at the extreme right has no reserve at all.
Also check the power required at that point, and confirm the motor is adequate. Backward-curved impellers, such as those in our BDF series, have the advantage of a non-overloading power characteristic: if system resistance turns out lower than calculated, the motor does not overload.
Step 5: Check the margin, then stop
Add a reserve so the fan can hold its duty as filters load and the system ages. What you should not do is oversize heavily as a substitute for calculation.
An oversized fan costs more, uses more energy, generates more noise, and in exhaust applications can pull the space negative in ways that cause door and combustion appliance problems. Balancing it back down wastes the extra capacity you paid for.
Sizing is not about buying headroom. It is about knowing the operating point.
Common sizing mistakes
Using the catalogue’s maximum CFM as the selection basis. Using clean filter pressure drop instead of dirty. Forgetting the exterior termination, which on small systems can be a significant share of the total. Ignoring system effect at the fan inlet and outlet, where a tight elbow close to the fan can cost more pressure than the elbow’s nominal loss. And sizing on duct length while ignoring fittings, when the fittings usually contribute more.
Frequently Asked Questions
What information does a fan supplier need to recommend a fan?
Airflow in CFM and external static pressure in inches of water gauge, plus duct size, electrical characteristics and any noise limit. CFM alone is not enough.
How much safety margin should I add to static pressure?
A design allowance of roughly 10 to 20 percent over the calculated value is common. Large margins are not a substitute for calculating the system.
What happens if I oversize the fan?
Higher first cost, higher energy use, more noise, and in exhaust applications the risk of excessive negative pressure. Oversizing is not a safe default.
Is dirty filter pressure drop really necessary?
Yes. Sizing on clean filter pressure means the system falls below design airflow well before the filter is due for replacement.